Transform Your Desk Setup: The $24 Laptop Stand That Changed Everything
Overview
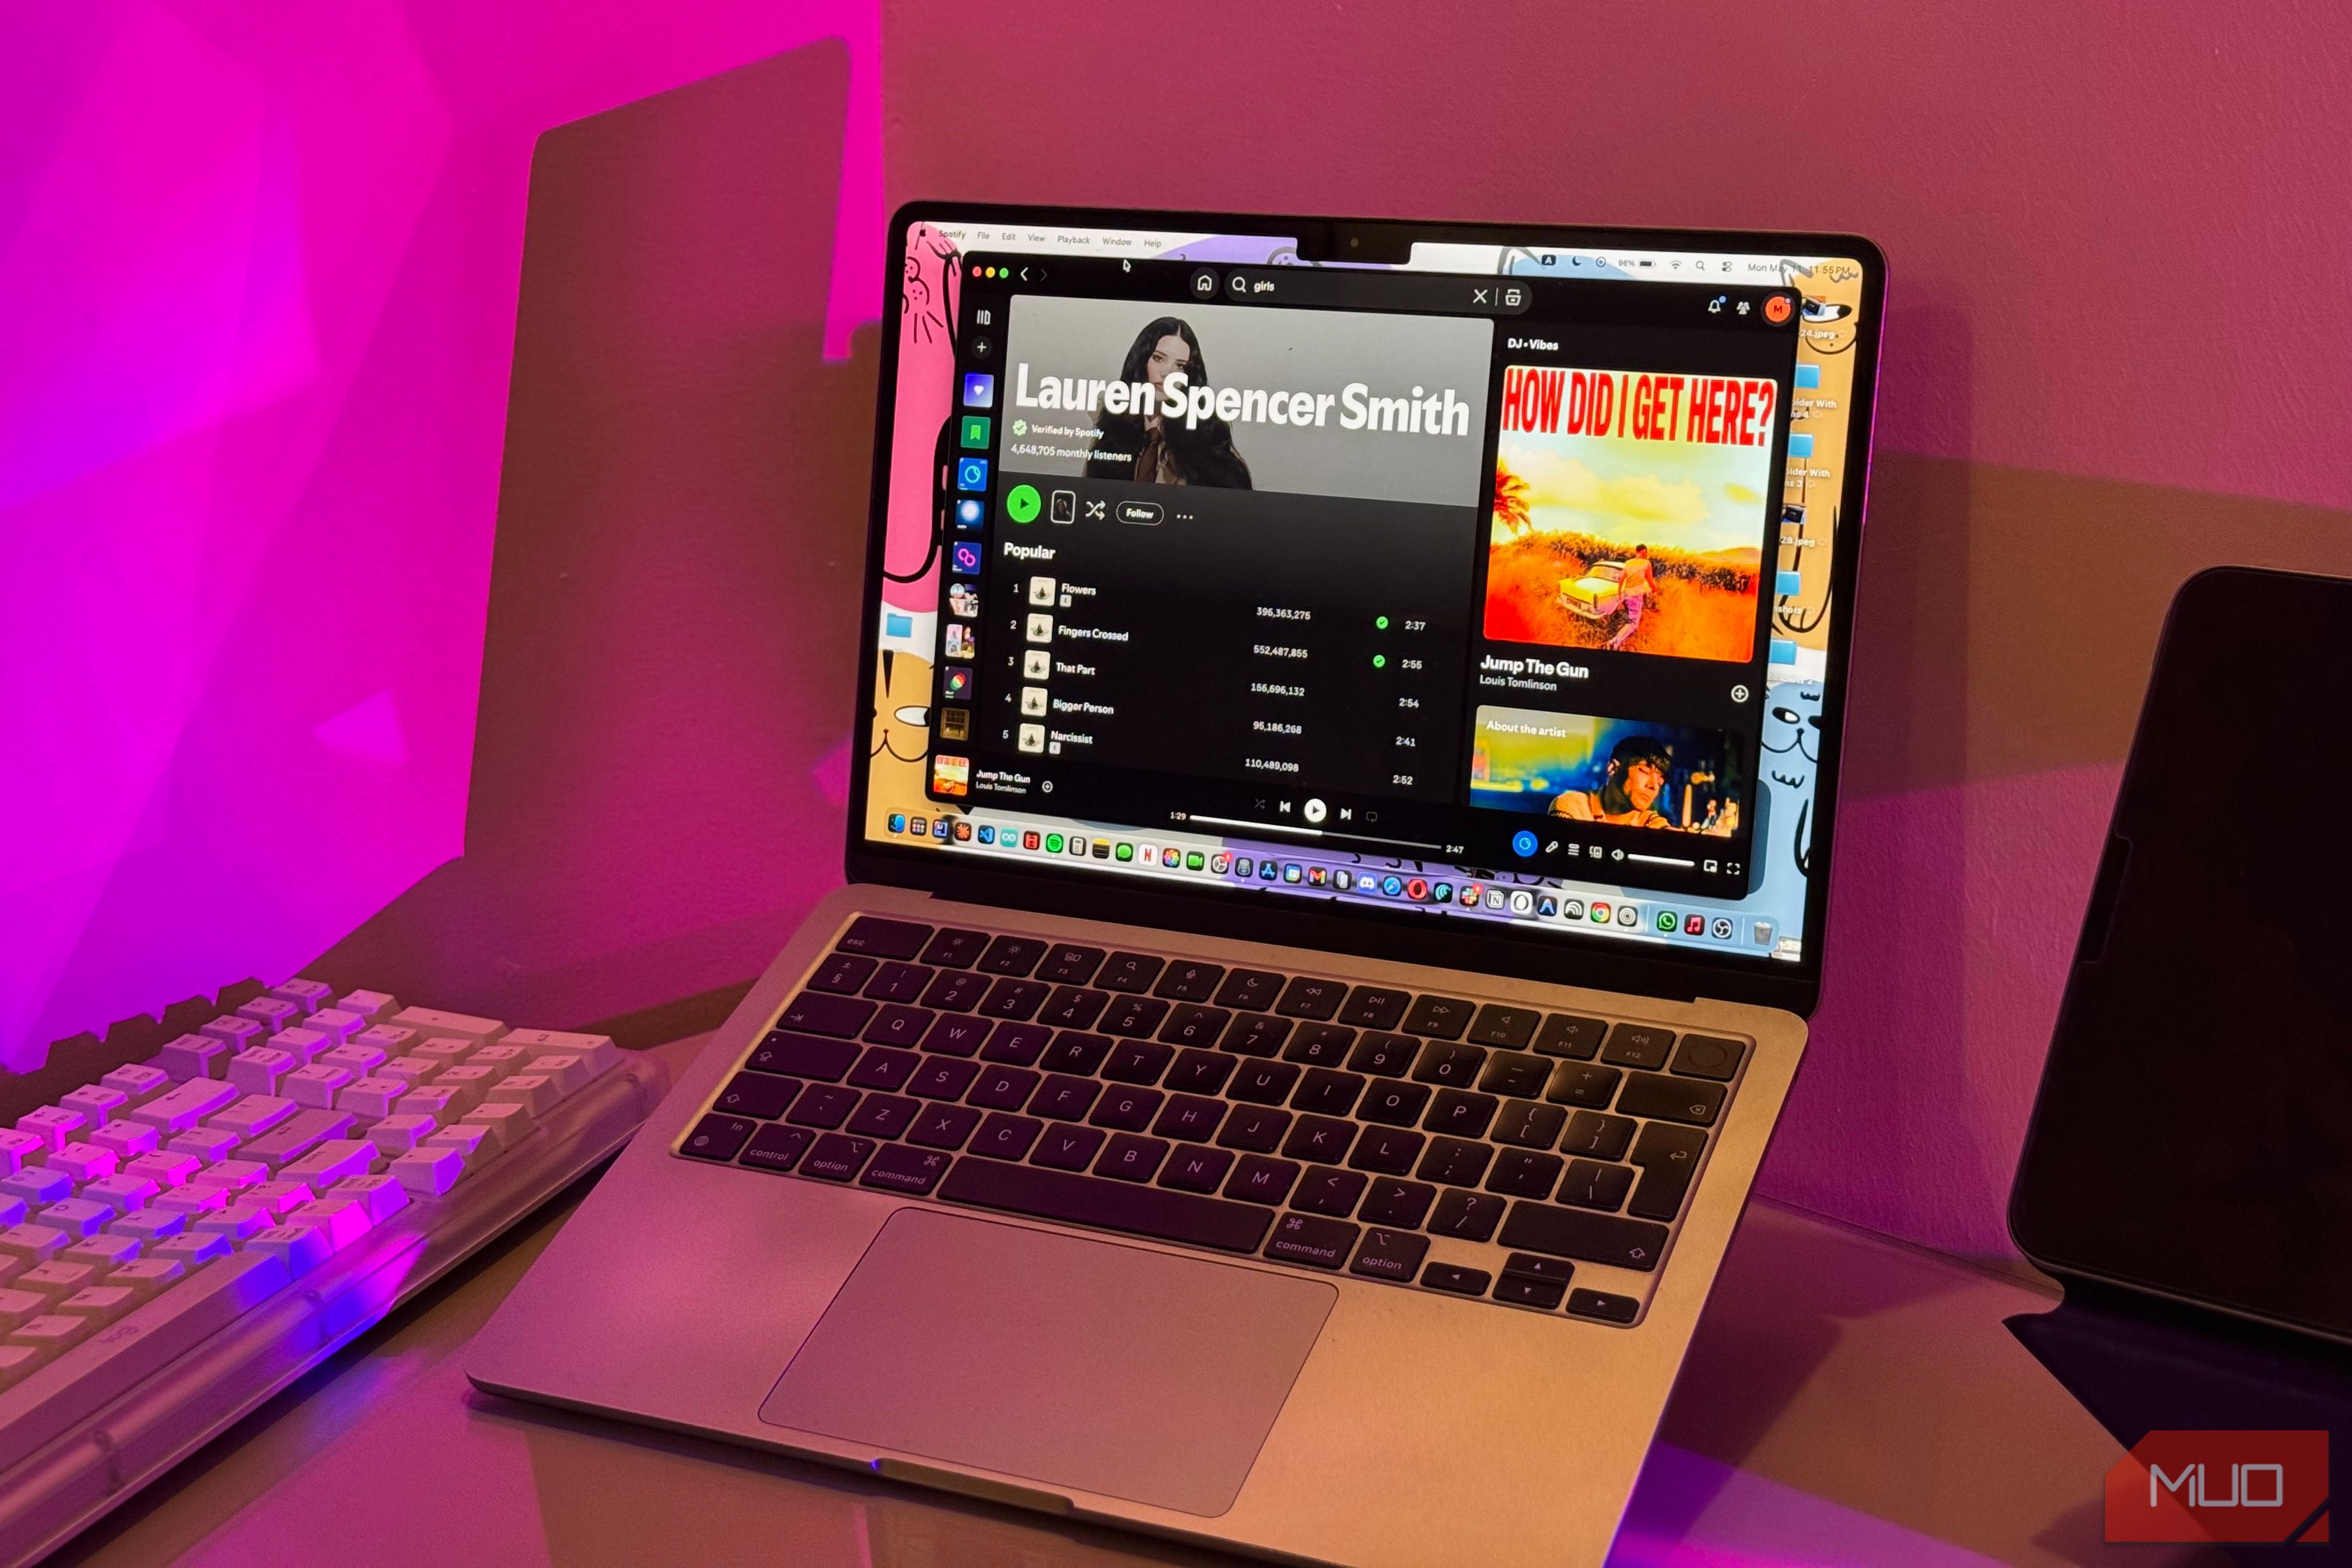
For years, my workspace was a bare wooden slab—just my laptop, a coffee mug, its coaster, and a tangled mess of cables. Hours of hunching over the screen left my neck and shoulders aching. Then I discovered a simple, inexpensive accessory: a compact, adhesive laptop stand that sticks directly to the computer. At just $24, it completely revolutionized my posture, workflow, and even my desk’s personality. This tutorial will guide you through selecting, installing, and using this game-changing gadget to boost your own productivity and comfort.
Prerequisites
Before you begin, gather the following:
- A laptop (any size, but ideally 13–15 inches for optimal fit)
- The adhesive laptop stand (often a foldable or adjustable wedge with a sticky pad or magnetic base—ensure compatibility with your laptop’s surface)
- Cleaning supplies: isopropyl alcohol and a lint-free cloth for cleaning the laptop’s bottom panel
- A ruler or measuring tape (optional, for checking alignment)
- A flat, stable desk or table for assembly
If your stand uses magnets, verify that your laptop’s chassis is magnetic (most aluminum unibody models are). For adhesive versions, ensure the bottom of your laptop is smooth and free of vents or stickers that could interfere.
Step-by-Step Instructions
1. Choose the Right Stand for Your Laptop
Not all $24 stands are created equal. Look for one that matches your typical use case:
- Portable wedge style: lightweight, folds flat, and sticks to the laptop. Perfect for remote workers who move between coffee shops and home.
- Adjustable angle stand: offers multiple tilt positions (often 15° to 30°). Ideal if you frequently switch between typing and viewing media.
- Magnetic vs. adhesive: magnetic stands allow easy removal, while adhesive versions are permanent but more secure.
Check reviews to ensure the stand provides adequate airflow beneath the laptop to prevent overheating. Many models feature vent cutouts or open designs.
2. Prepare the Laptop Surface
A clean surface ensures the stand sticks (or magnetizes) firmly. Follow these steps:
- Shut down your laptop and unplug it.
- Wipe the bottom panel with a microfiber cloth dampened with isopropyl alcohol. Remove any dust, oil, or debris.
- Let the surface dry completely (about 60 seconds).
- If your laptop has rubber feet, consider their placement—you’ll attach the stand between them or remove the feet temporarily (check manufacturer guidelines).
3. Attach the Stand to Your Laptop
Carefully follow the stand’s instructions. For adhesive stands:
- Peel off the protective layer from the adhesive pad.
- Align the stand parallel to the laptop’s hinge edge (the side that opens). Position it so the raised part will lift the rear of the laptop when placed on a desk.
- Press firmly for 30 seconds, applying even pressure across the adhesive area.
For magnetic stands:
- Locate the magnetic sweet spot on your laptop’s bottom—usually near the hinge.
- Place the stand’s magnetic plate against the laptop; it should snap into place.
- Test that the stand does not slide or shift.
Let the adhesive cure for 24 hours before using the stand under heavy load for best bond strength.
4. Adjust the Angle and Height for Ergonomic Setup
Your goal is to align the top of the laptop screen with your eye level. Stands typically tilt the keyboard at a 10–30° angle. To find the right tilt:
- Place the laptop with attached stand on your desk.
- Sit in your usual chair with shoulders relaxed.
- Close your eyes, then open them. Your gaze should naturally fall on the top third of the screen. If you’re looking down or up, adjust the stand’s tilt (if adjustable) or add a separate riser under the stand.
- Typ for laptop-only use: a 15° tilt is a good starting point. For external monitors, you might want a flatter 5° tilt to keep the keyboard comfortable.
If your stand has multiple locking positions, test each one while typing a few paragraphs to see which feels most natural for your wrists and neck.
5. Integrate the Stand into Your Daily Workflow
Once attached, the stand stays on your laptop permanently—no need to remove it. Here’s how to make the most of it:
- Typing posture: The tilted keyboard helps keep your wrists straight, reducing strain. Pair with a separate wrist rest if desired.
- Viewing media: Tilt the screen back slightly for watching videos or video calls—prevents glare and improves viewing angle.
- Portability: Most stick-on stands are slim enough to fit in a laptop sleeve or backpack without adding bulk. The stand becomes part of the laptop.
- Desk organization: With the laptop elevated, you can slide a small notebook or phone underneath to reclaim desk space. No more cable mess—use a cable dam for cord management.
For best results, avoid common pitfalls.
Common Mistakes to Avoid
1. Ignoring Laptop Ventilation
Many stick-on stands cover cooling vents. If the stand blocks airflow, your laptop may overheat, throttling performance. Always check the stand’s design: it should have gaps or cutouts aligned with your laptop’s intakes. If unsure, run a temperature monitoring app (like HWMonitor) during heavy use to ensure thermals stay normal.
2. Misaligning the Stand
Placing the stand too far forward or backward can cause the laptop to tip or the screen to close awkwardly. Pro tip: Attach the stand so that when folded flat, its front edge aligns with the laptop’s front bezel lip. For hinged stands, the fold line should sit right at the edge of the laptop base.
3. Using a Stand on an Unstable Surface
The adhesive or magnet holds the stand to your laptop, but if your desk is wobbly, the stand can still cause the laptop to rock. Solution: Place a non-slip mat under the laptop’s feet or the stand itself. This is especially important on glass or glossy desks.
4. Expecting a One-Size-Fits-All Solution
While the $24 stand is versatile, it may not be ideal for every scenario. For example, if you use an external mouse and keyboard extensively, you might prefer a separate laptop riser that allows an even higher lift. The stick-on stand is best for portable ergonomic improvement, not for replacing a full desktop dock.
5. Neglecting to Clean Regularly
Dust and oils can accumulate under the stand’s adhesive, weakening the bond over time. Monthly maintenance: Gently lift the stand (if non-permanent), clean both surfaces with alcohol, and reapply pressure. For magnetic stands, simply wipe the magnet area to prevent debris from interfering with the hold.
Summary
A $24 adhesive laptop stand can transform your work experience by improving ergonomics, freeing desk space, and enhancing portability. By following the steps above—choosing the right model, preparing your laptop, attaching it correctly, and adjusting the angle—you’ll enjoy reduced neck and wrist strain, better airflow, and a more organized workspace. Avoid common missteps like blocking vents or misplacing the stand, and you’ll wonder why you waited so long to make this simple upgrade. This small investment yields daily comfort dividends, making it one of the most impactful desk accessories you can buy.